

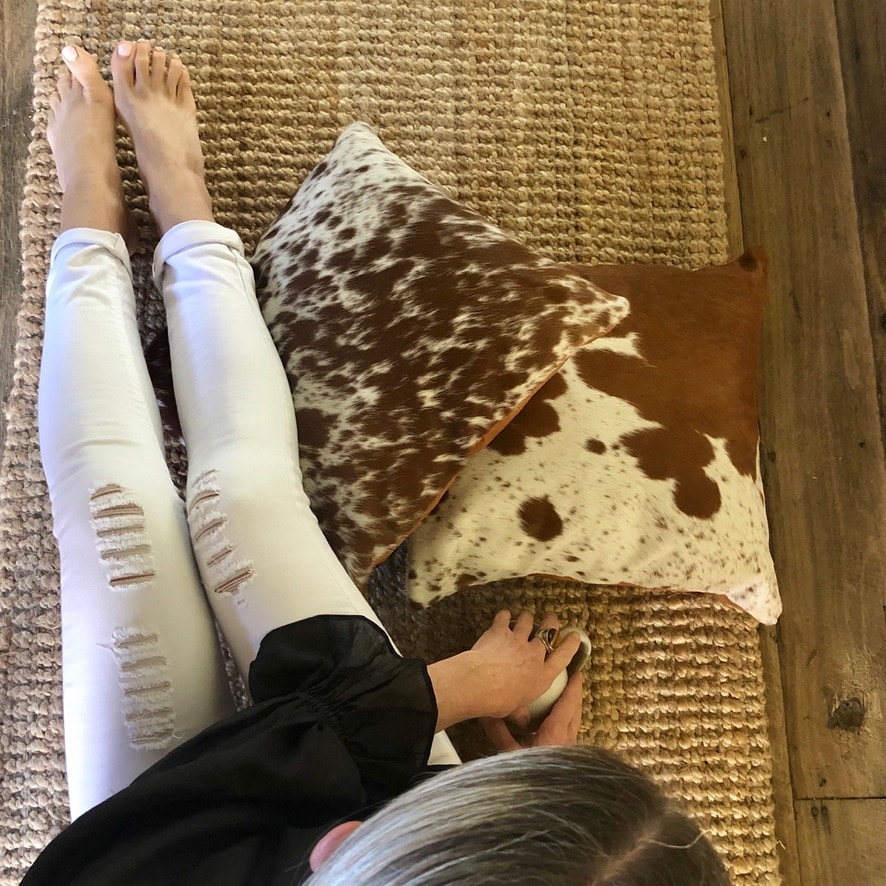
Looking for a fun and productive way to kill some iso time or a new home project for Spring? Well have we got a treat for you! We’ve found this wonderful Youtube tutorial to help you with making your own rustic looking cushion cover. This will be sure to offer some fresh urban and country colour to your living room and you get the added satisfaction of telling your friends you made it! Before you decide to go ahead with your own DIY cushion cover project be sure to check out our new Sunday Cowgirl cushion covers here.
Let’s go, here’s what you will need:
- A length of strong plastic sheeting (bag stiffener material works a treat)
- Long metal ruler for measurements and cutting support
- Sharpie Pen
- Fabric Marker
- Masking tape
- Quilting or Rotary cutter or Stanley knife
- Rotary or dry punch (for the hole markings)
- A length of cowhide or material for the front of the cushion
- A length of material of choice for the cushion backing (eg. suede, rug etc)
- All purpose contact cement
- ⅛ inch hole punch or revolving punch
- Spool of lace or material
First things first, you need to decide what size & shape you want your pillow to be. Square, Rectangle?
Choosing a standard size to ensure you can jump down to your local homewares or Ikea store to get a pillow to fit would be easiest.
Here is a great resource to help you with your pre-planning and to pick a relevant size.
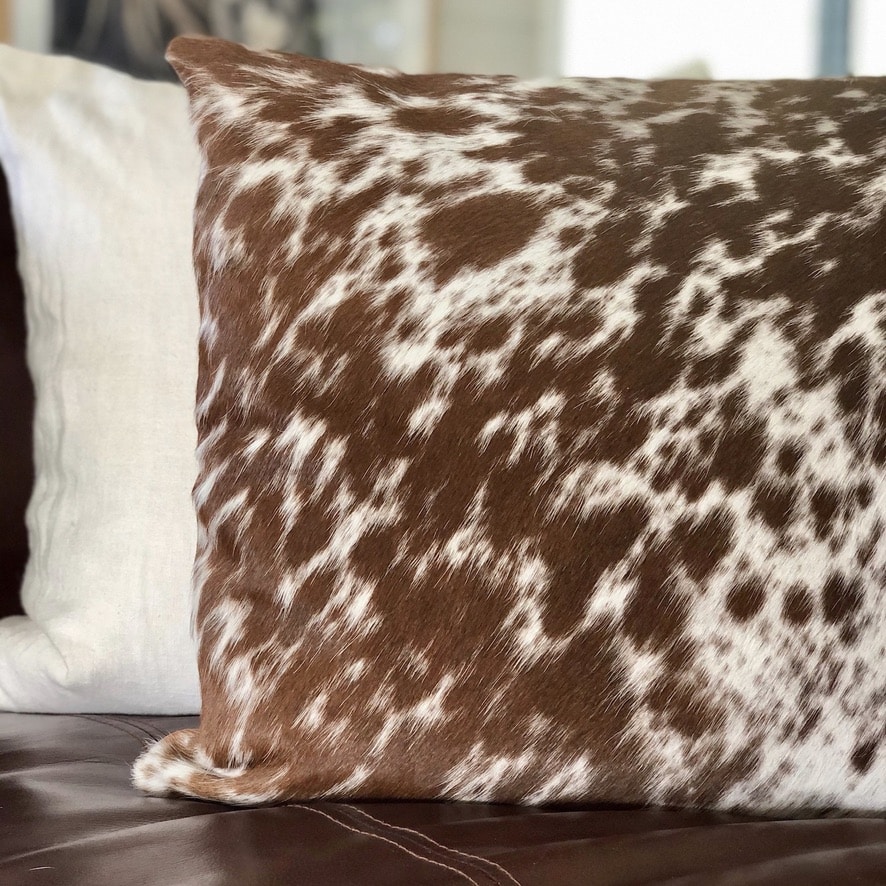
Looking for cowhide leather material & cowhide rug to support your project? Please contact us for prices & options
To help simplify the process for when you are getting your hands dirty we have broken down the tutorial into relevant steps & the sections where in the video to refer & find the information you neeed to help build your cowhide cushion cover.
STEP 1. MAKE YOUR FRONT PANEL PATTERN (Start 00.38 sec)
STEP 2 – CUT ROUNDED EDGES ON YOUR FRONT PANEL PATTERN (00.57 sec)
STEP 3 – MAKE YOUR BACK PANEL PATTERN (02.00 min)
STEP 4 – ADD YOUR PUNCH HOLE MARKINGS TO THE BACK PANEL (03.00 min)
STEP 5 – CUT YOUR FRONT PANEL MATERIAL (07.31 min)
STEP 6 – CUT YOUR BACK PANEL MATERIAL (09.13 min)
STEP 7 – APPLY THE ADHESIVE (09.58 min)
STEP 8 – PUNCH THE HOLES (12.06 min)
STEP 8 – LACE THE CUSHION (13.20 min)
Best of luck with your design project Cowgirls, be sure to hashtag/share your creation with us on the socials
#sundaycowgirl